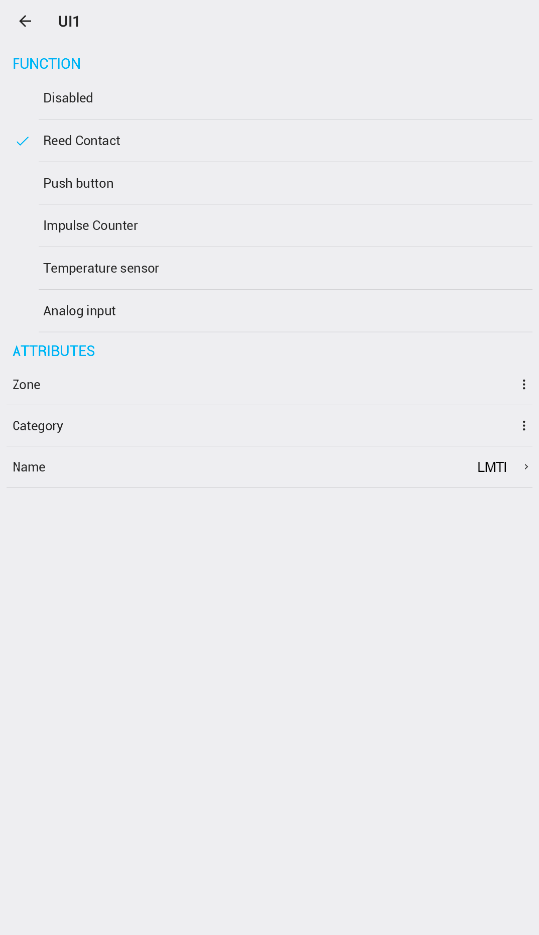
In order to read HDO state in TapHome you have to use external relay that convert HDO signal into 24VDC. Here is the wiring scheme:
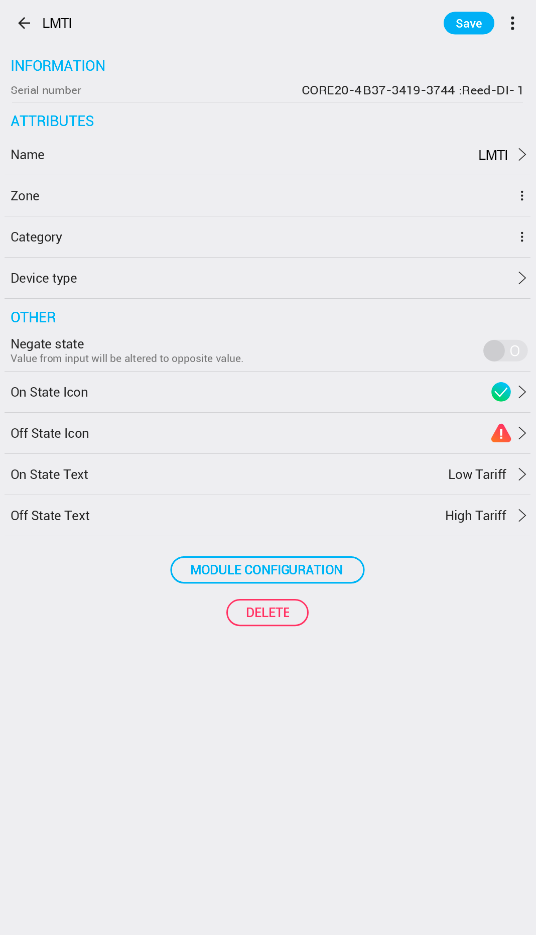
2. Enable UI input for HDO as Reed Contact and label it properly (further “HDO”).
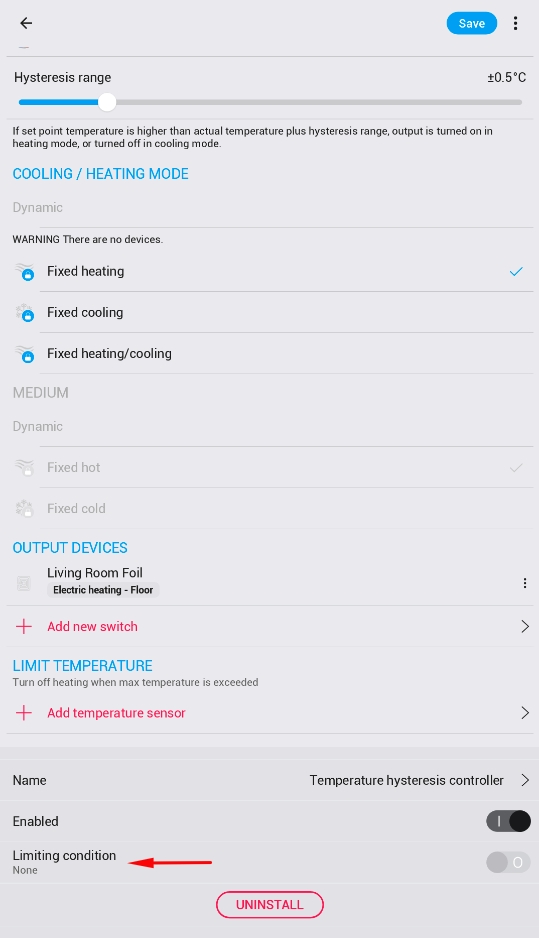
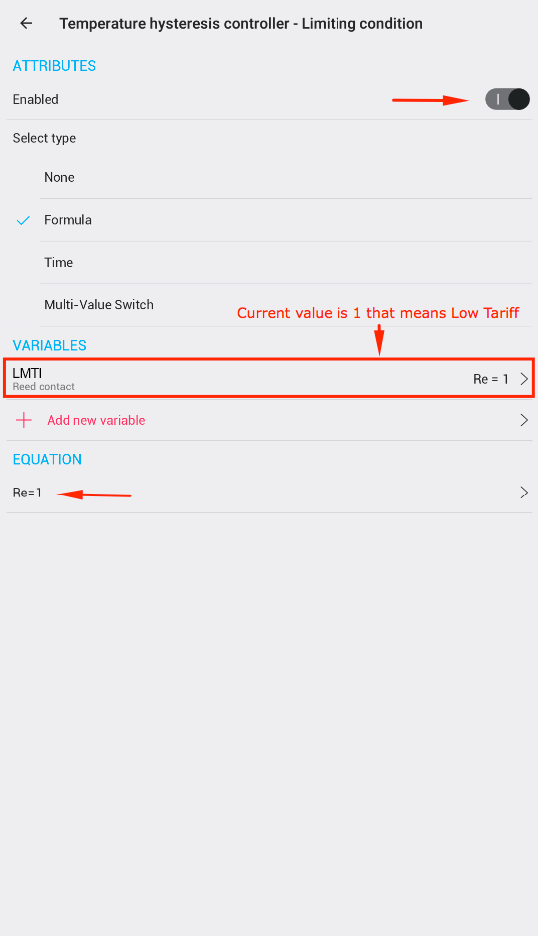
3. Go into Thermostat detail, open Temperature hysteresis controller Smart Rule and enter Limiting condition settings on the bottom. In the Limiting condition turn Enable ON, Select type “Formula” and in Variables section select HDO Reed contact created in previous step. On the Right side you will see the short name for that variable, in this case “Re” and actual value (1 or 0). In Equation section write “Re=1” - Low tariff state. Go back, and Save. This Limiting condition means that Temperature hysteresis Controller will be Enabled only when HDO Reed contact is sends “1” that means “Low Tariff” - heating allowed.
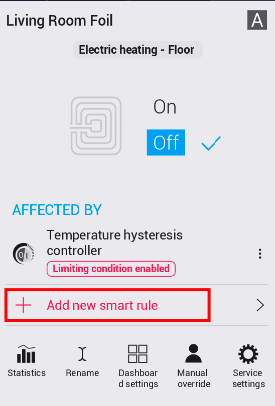
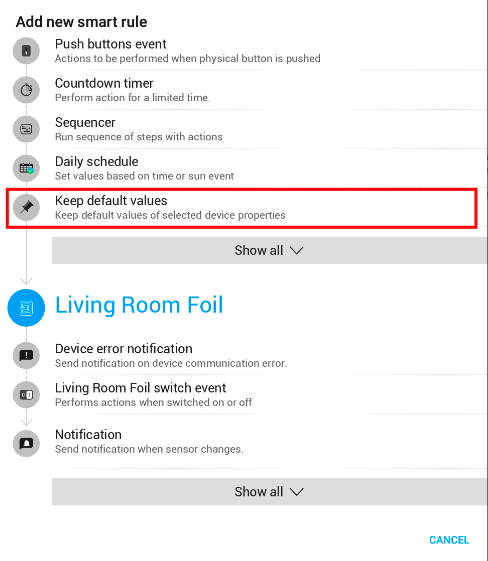
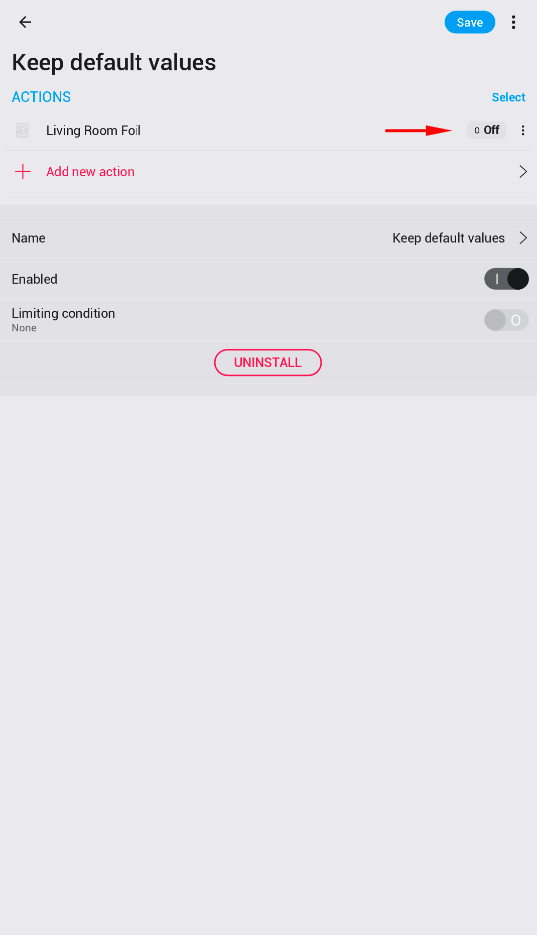
4. Go to relay output controlled by the Temperature hysteresis control and Add new Smart Rule “Keep default values”. Set the default value to OFF and Save.
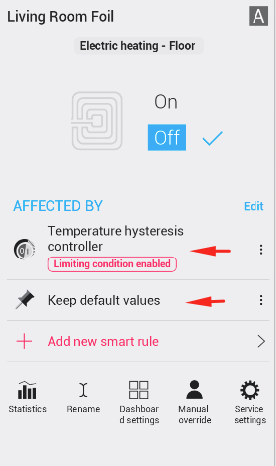
5. Conslusion: Temperature hysteresis controller is enabled when Reed Contact HDO is in “Low tariff” state. In the situation when the state changes to “High tariff”, hysteresis control is bypassed via limiting condition and output relay “Living Room Foil” is turned “OFF” via Keep default value Smart Rule with lower priority.

